Image Quilting and Fake Miniatures
Alan Yao
Image Quilting - Description
In this project, we explore the texture synthesis and texture transfer ideas presented in Efros and Freeman's 2001 paper. This technique is dubbed as image quilting.
We build up iteratively some ideas for synthesizing textures, culminating in a good final product, which can then be also applied to transfer textures from one image to another using an iterative method.
Random Quilting
 |
 |
| Here we look at the result for the completely naive algorithm. We sample patches at random from the sample texture and place them side by side in the output image. | |
Simple SSD-based Quilting
Next, we consider overlapping current patches with previous patches by some pre-specified, constant amount. This allows for us to attempt to "match" the overlapping region with a patch in the sample image. We do this with exhaustive search - for each possible patch in the sample image, compute the SSD overlap between that patch and the overlapping region.
Then, we find the minimum cost patch and all other patches within some cost tolerance (say 1.05 or 1.1 times the minimum cost), and sample randomly from those potential patches. A higher tolerance gives a more variable texture, while a lower tolerance at low resolutions attempts to give back the original sample as faithfully as possible.
Then, the chosen sample is naively inserted on top of the reconstructing image.
|
 |
| Notice how the result is improved, however blending lines are still very visible, since there is no blending. | |
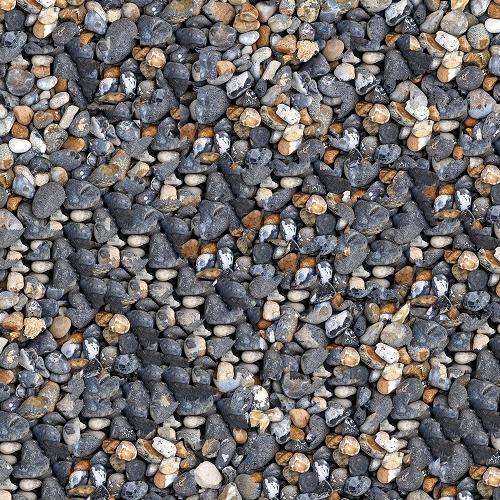
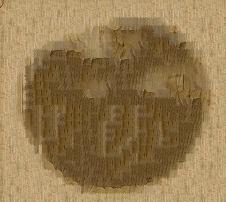
Image Cut-based Quilting
Previously in this class, we explored finding the minimum vertical or horizontal cut of an image for the purposes of seam carving. While that used an energy function of the squared sum of directional derivatives, we can apply the technique here for more natural blending.
The "corrupt professor" algorithm works as follows: plagarize a patch from the source image, then try to cover up the stolen parts as much as possible. We compute the energy function for min-cut between the new patch and the existing overlap as the point-wise squared difference. Then, we find the optimal horizontal or vertical cut (depending on merging direction), and use that as a mask; everything to the left of the min-cut is taken from the reconstructed image, and eerything to the right is from the new patch.
The min-cut can be found using DP on the energy matrix. With this blending technique, we can eliminate a large number of the blending artifacts. Below are a few examples of this process.
|
 |
 |
 |
 |
 |
 |
 |
 |
 |
| In these examples, the textures are synthesized quite nicely. | |
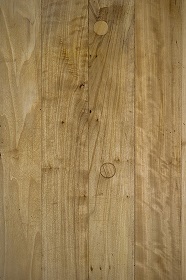
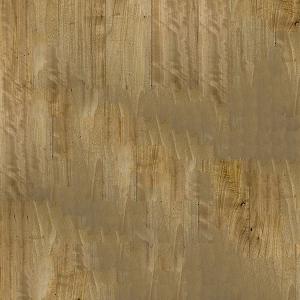
Texture Transfer (+ Bells & Whistles)
The main application discussed in the paper is texture transfer. Given a sample of a texture, and an image that we want to texture with the sample, with a simple modification we can use quilting to achieve this goal.
We first compute a blurred intensity map of the two input images. This can be accomplished with convolution by a gaussian with both input images' greyscale representations. These are the correspondence maps.
We modify the difference function when searching for potential patches to also incorporate the difference between the correspondence maps. We choose a weighting factor alpha, such that a higher alpha puts more weight on texture coherency, and consider the difference function d = (alpha)*(patch overlap difference) + (1-alpha)*(correspondence map difference), where we compute the SSD between each patch for the differences.
The paper describes an iterative method for refining the result; at first we begin with a large patch size and a lower alpha, putting the blocks generally where they should be. THen at each step, we reduce the block size and decrease the alpha to increase texture coherency while also refining the image. This is implemented as Bells & Whistles for this project.
Below we will show some results using the iterative method, along with some examples of refining with N=3.
 |
 |
 |
 |
 |
 |
|
 |
 |
| Above are some examples of the texture transfer results. Notice how generally, shape is preserved but color is not (as expected). Since all patches must be taken from the original sample, the best we can do is to attempt to match the intensities as best as possible. |
||
 |
 |
|
 |
 |
|
| Above we demonstrate some examples of refining the image. With each step, the block size shrinks and the image grows closer to the desired result. | ||
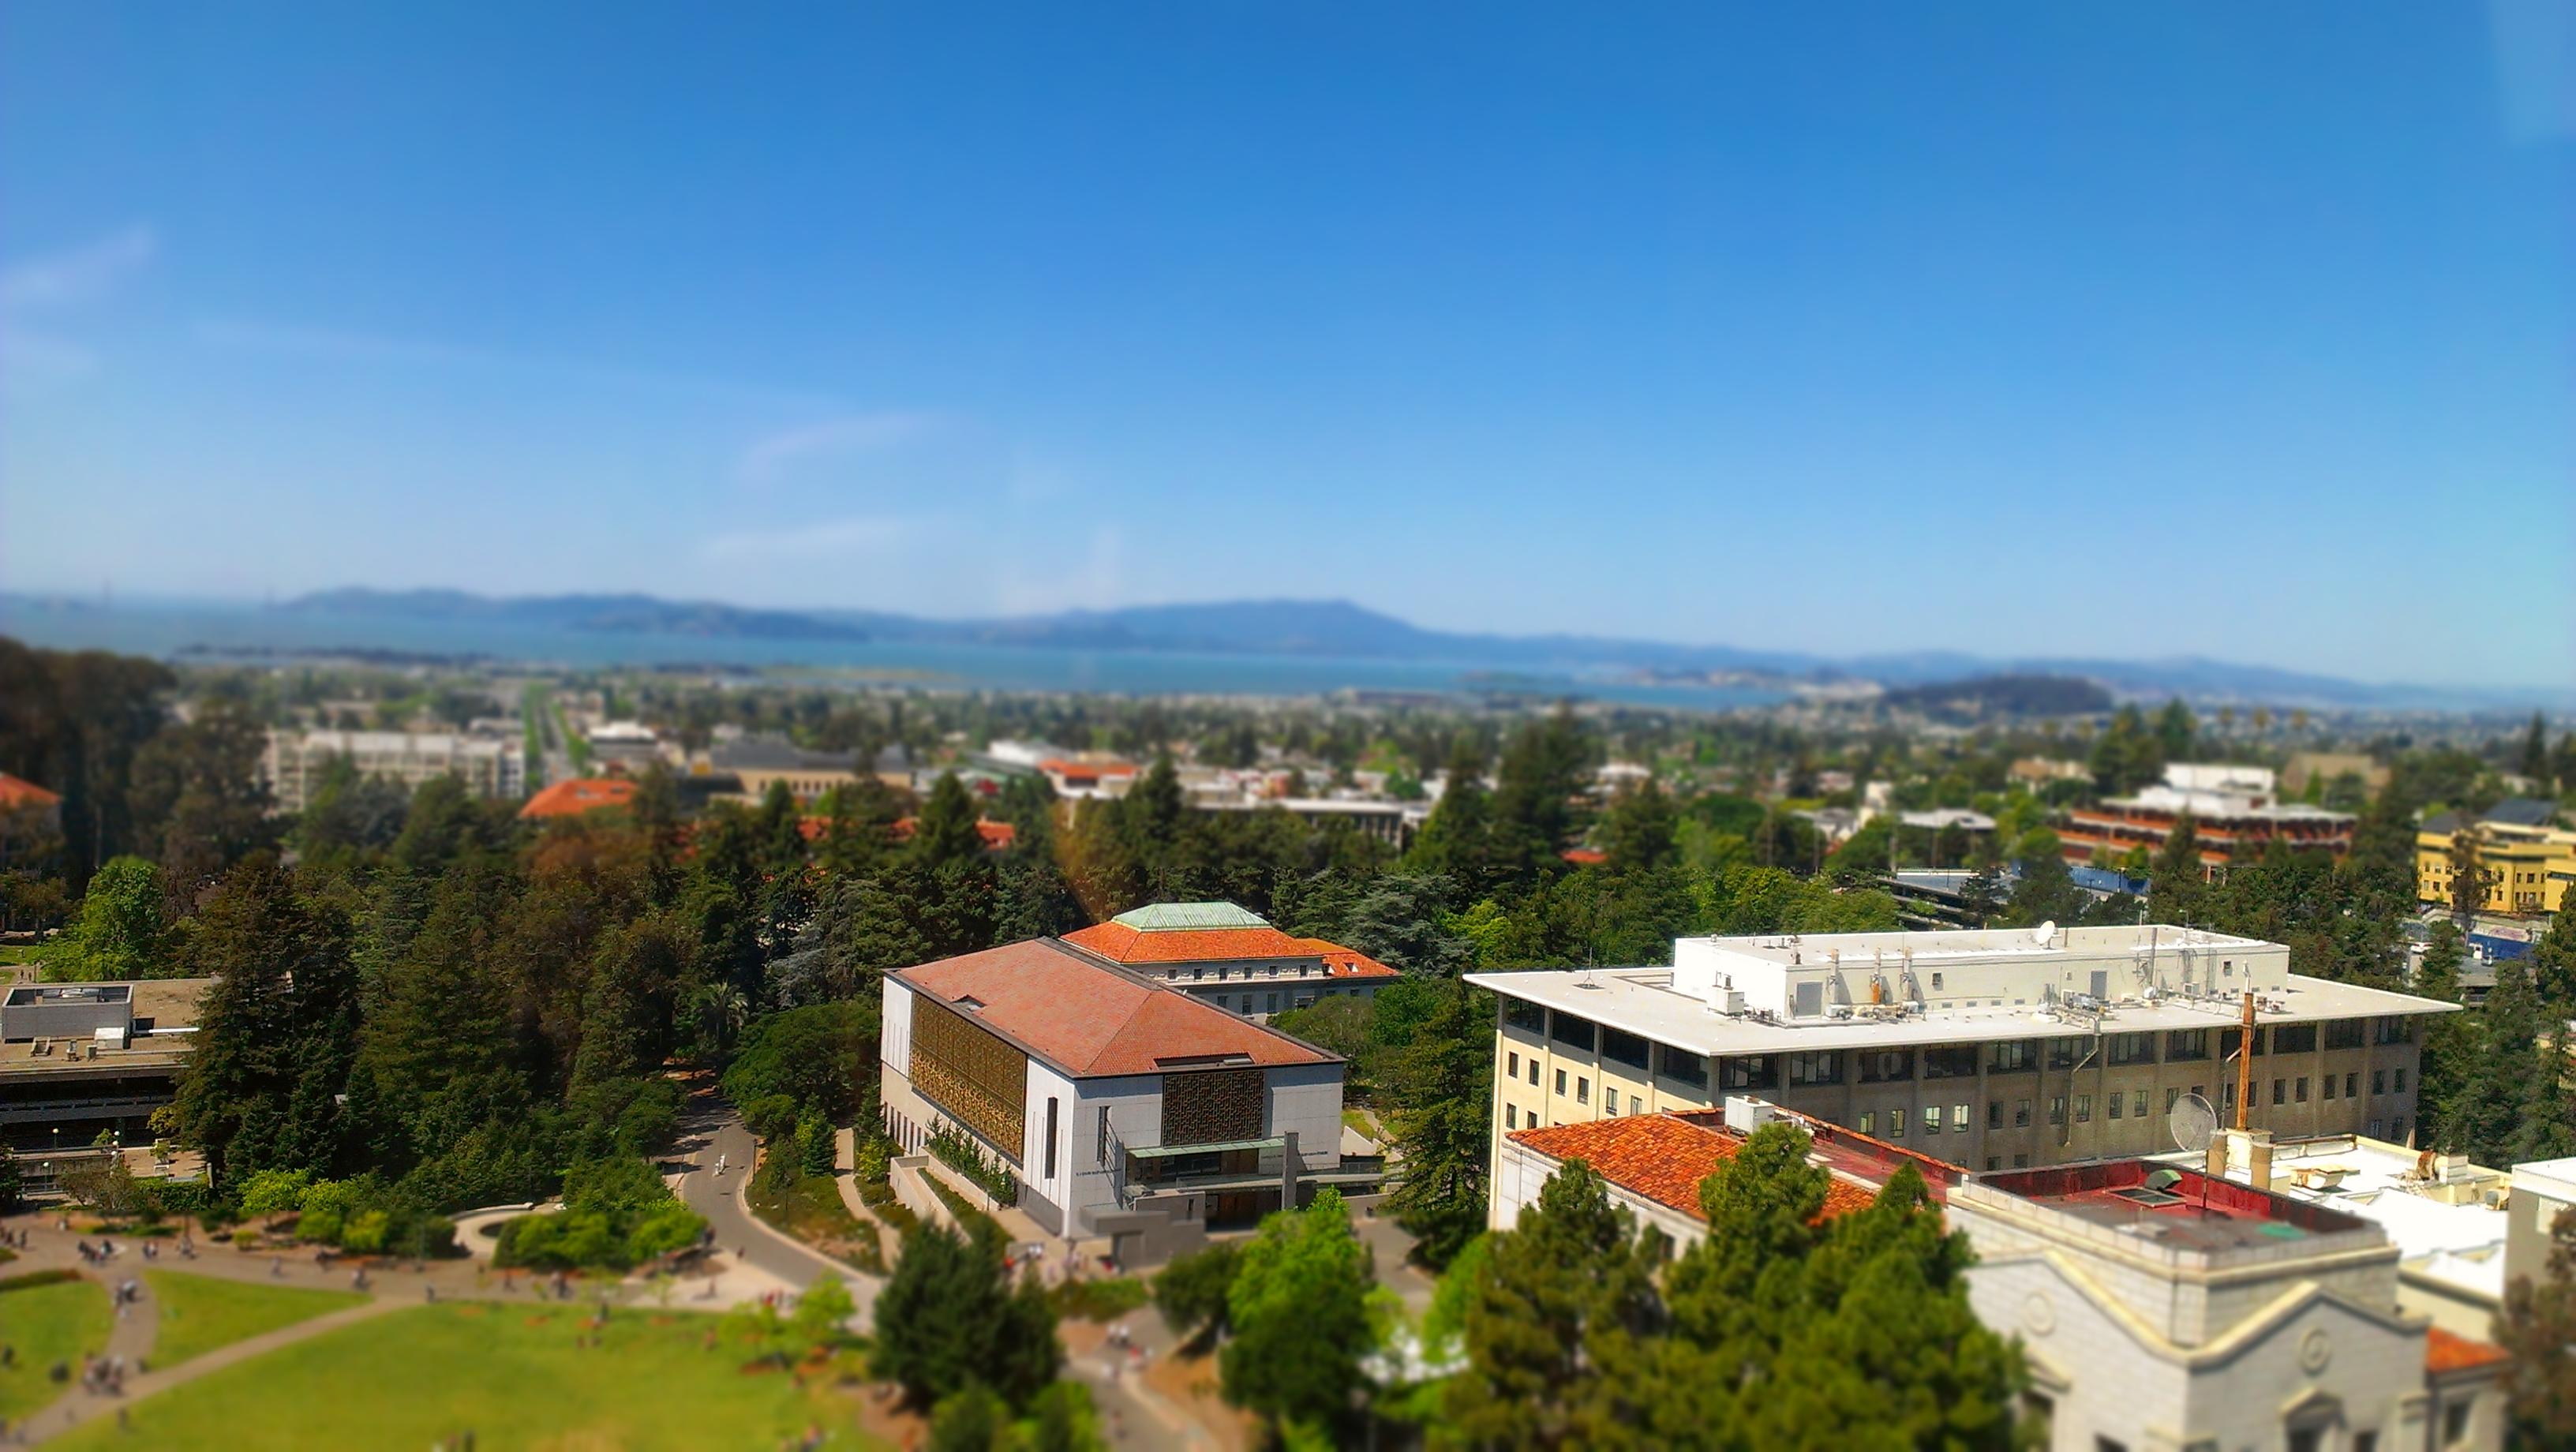
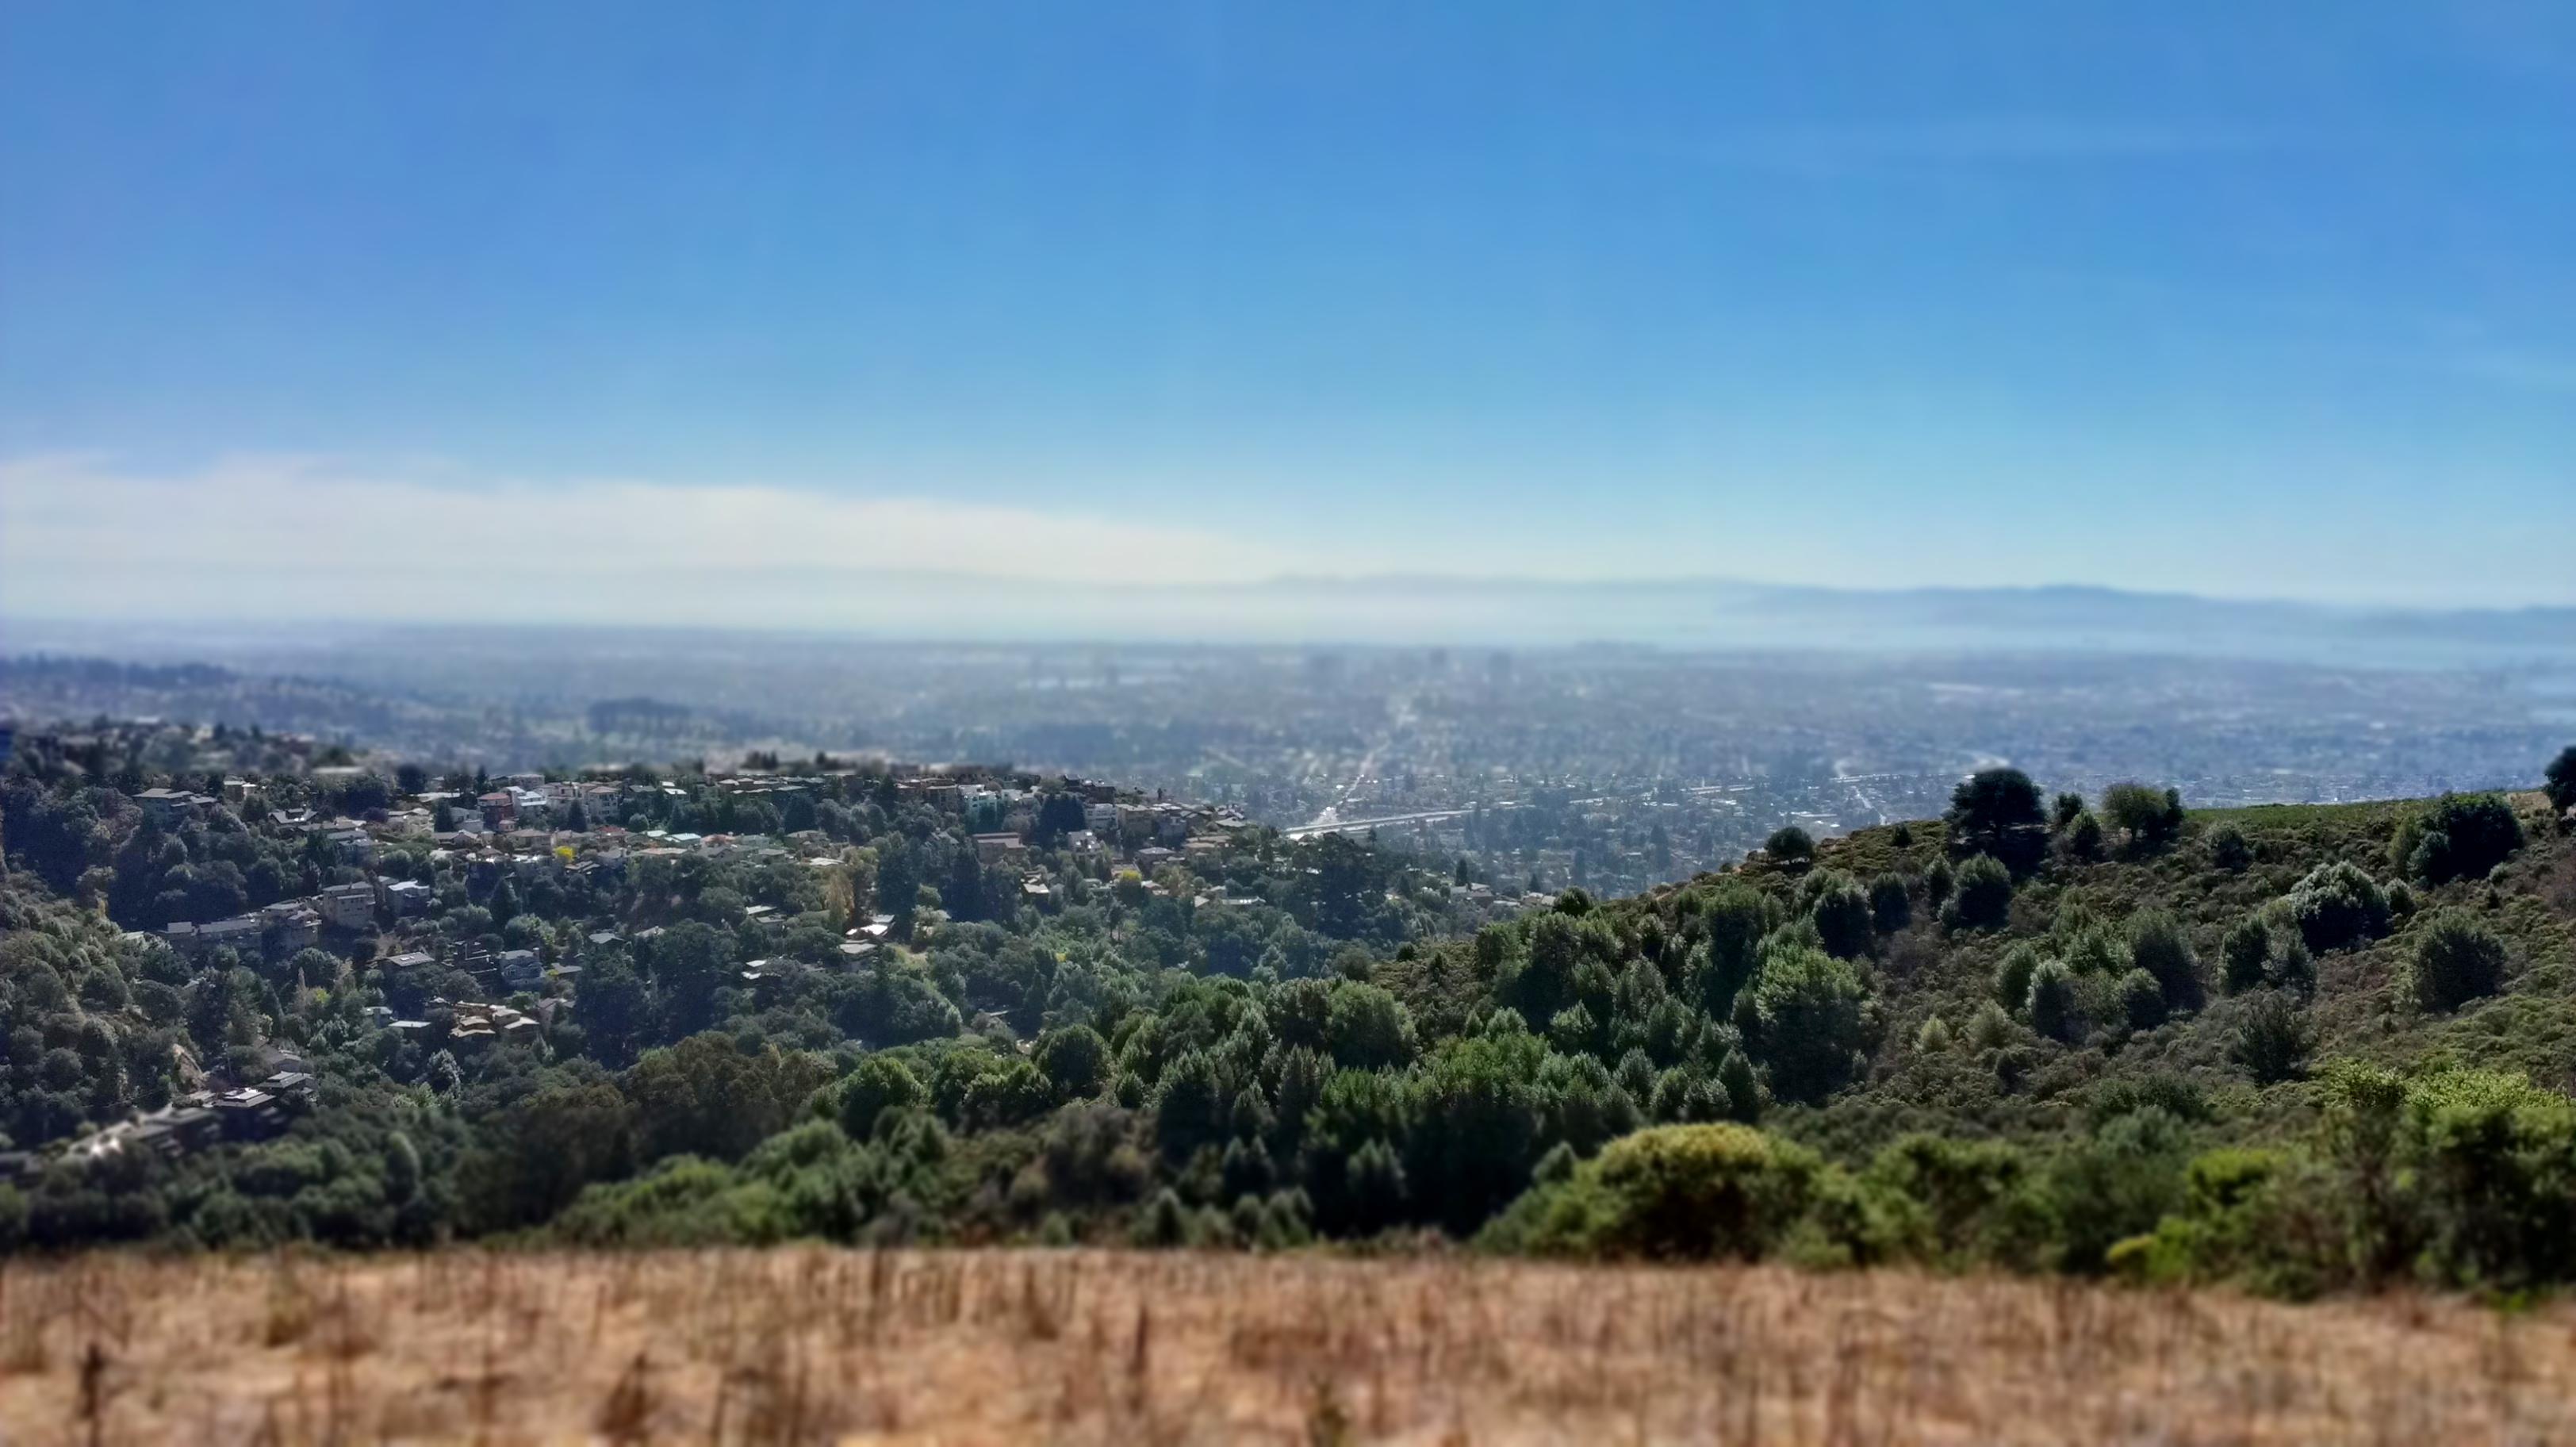
Fake Miniatures
Alan Yao
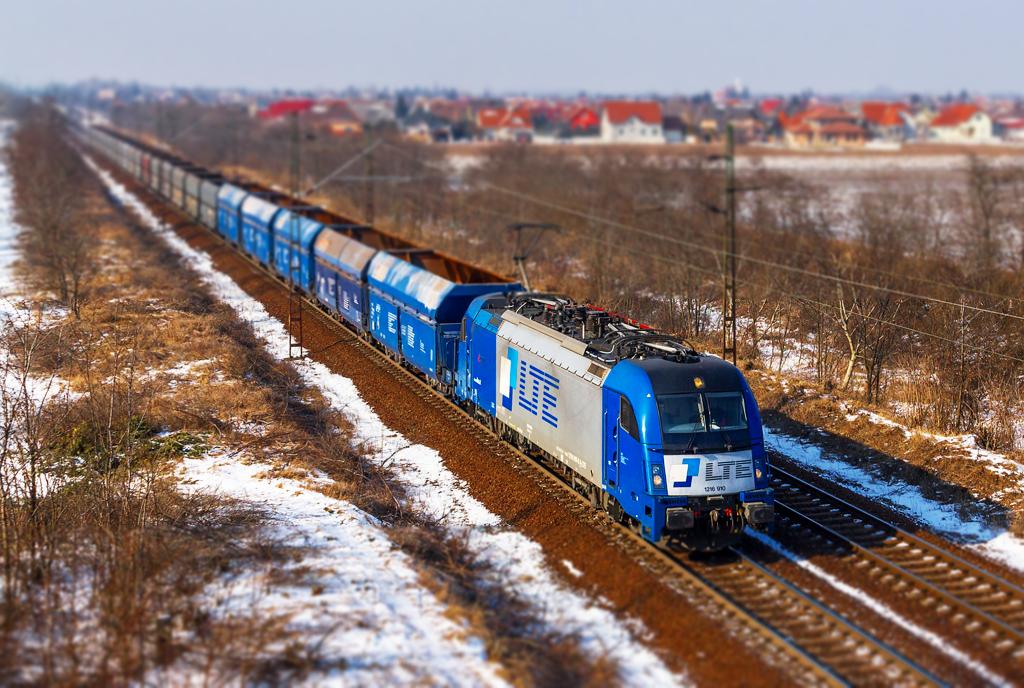
Description In this project, we create fake miniatures by simulating the effect of taking a picture of an object while very close to it. This is also the same effect as selective focus cameras, and is called Tilt Shift.
The algorithm works as follows:
1. The user selects the focal plane and depth of field. This can be done with two points.
2. Assume standard image constuction, where points in the image above the focal plane are further away and points below are closer. Blur the image iteratively by applying stronger gaussians to areas further away from the focal plane.
3. Resaturate the image by converting to HSV space and increasing the saturation, then converting back.
The reason why this works is because when taking pictures of very close up objects, even with a very small apeture full depth of field cannot occur. By adding an unnatural amount of depth of field to a normal image, we can simulate the effect of being very close. However, this does have some constraints and failure cases, which we will explore in the results.

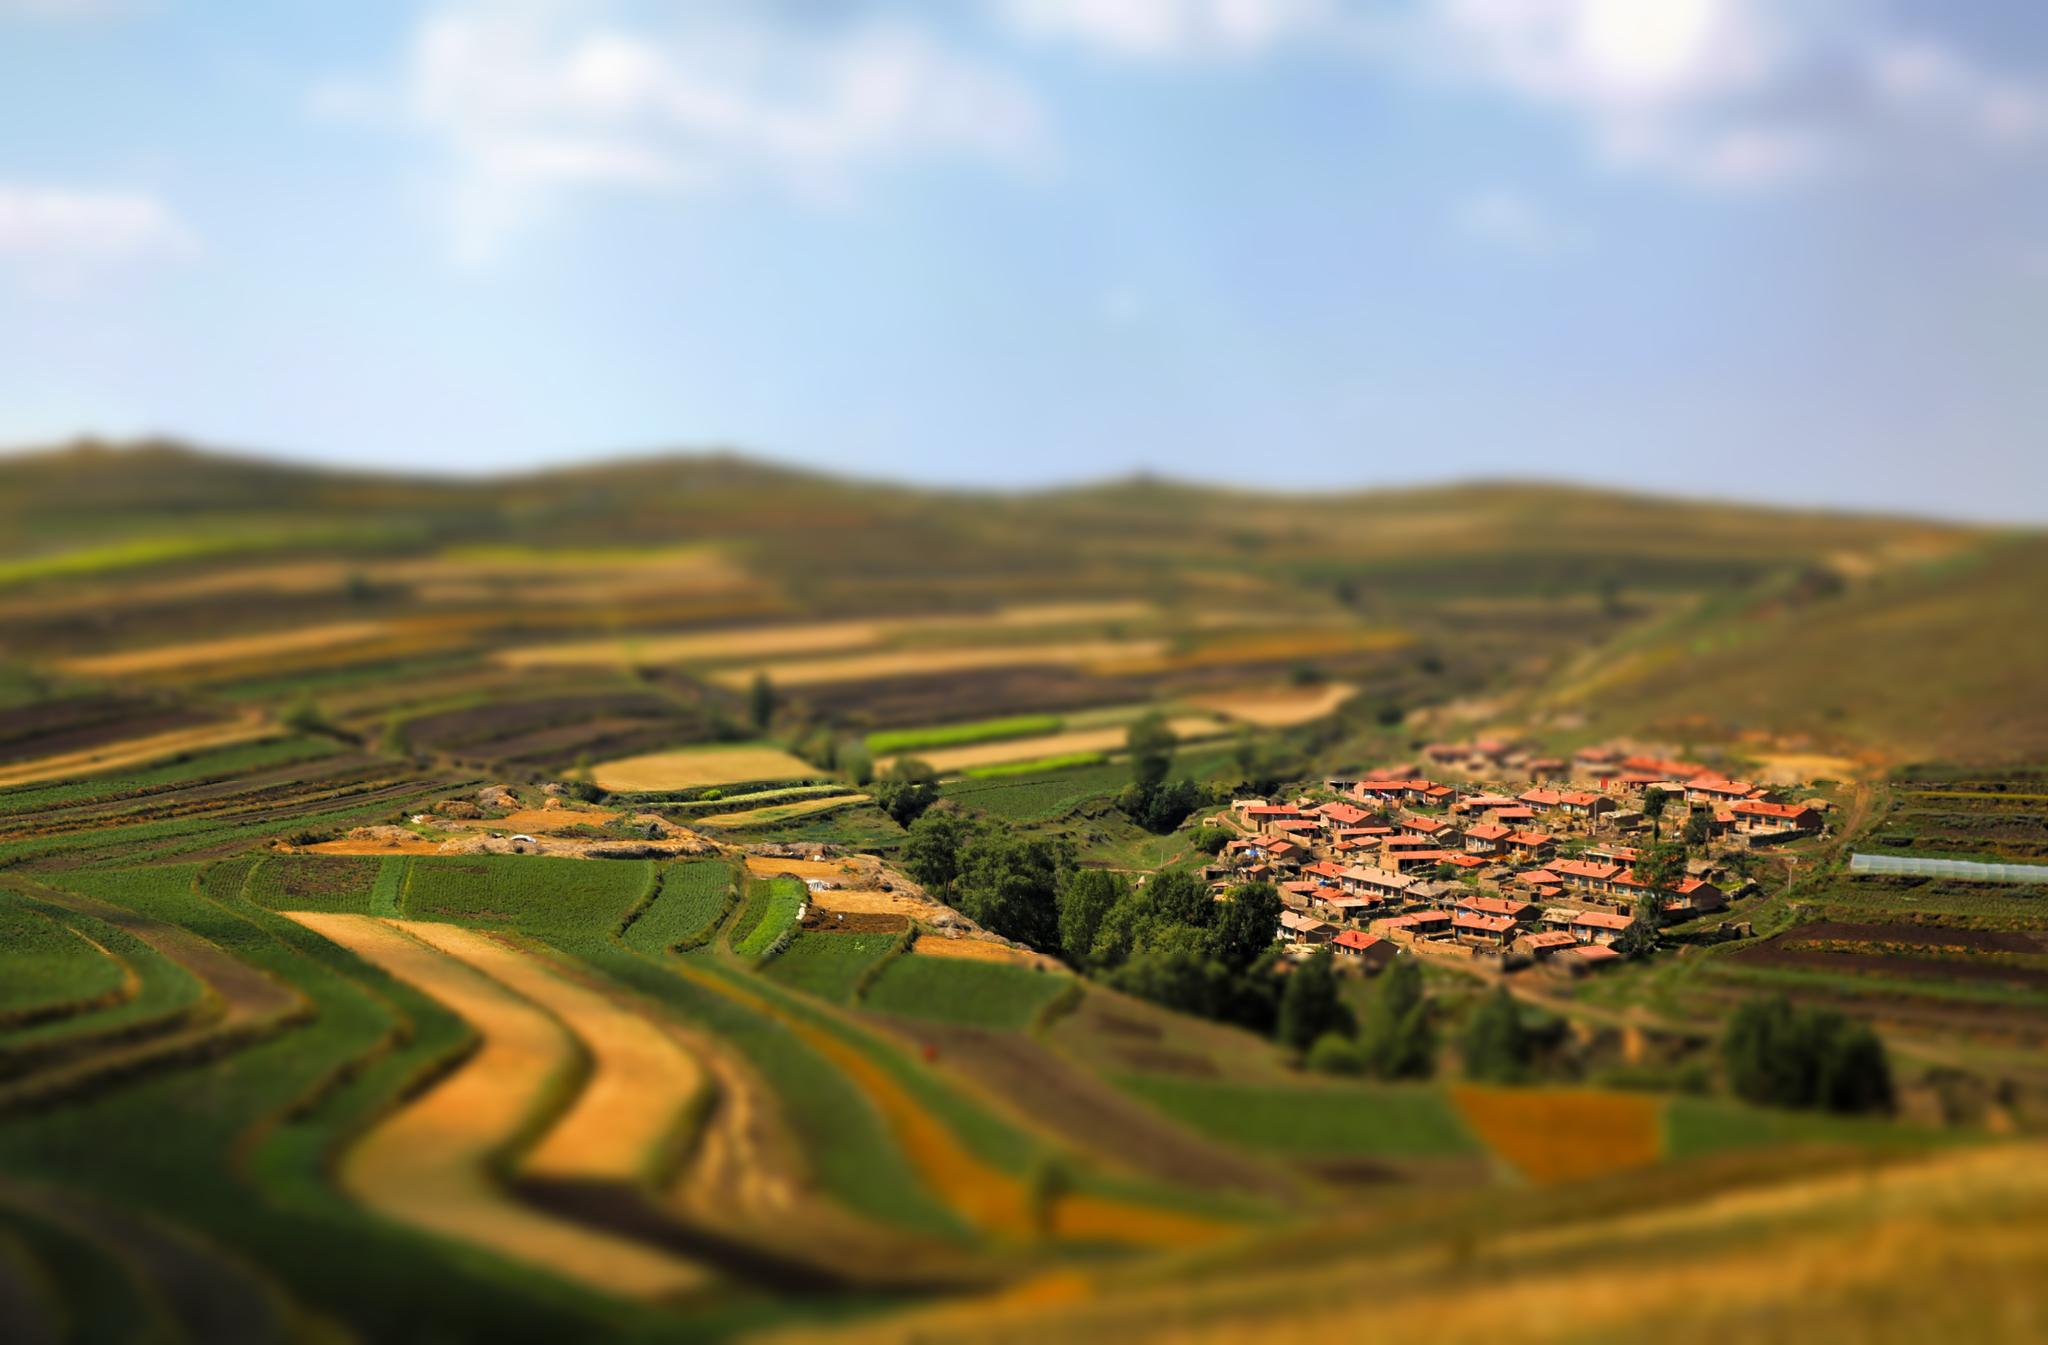

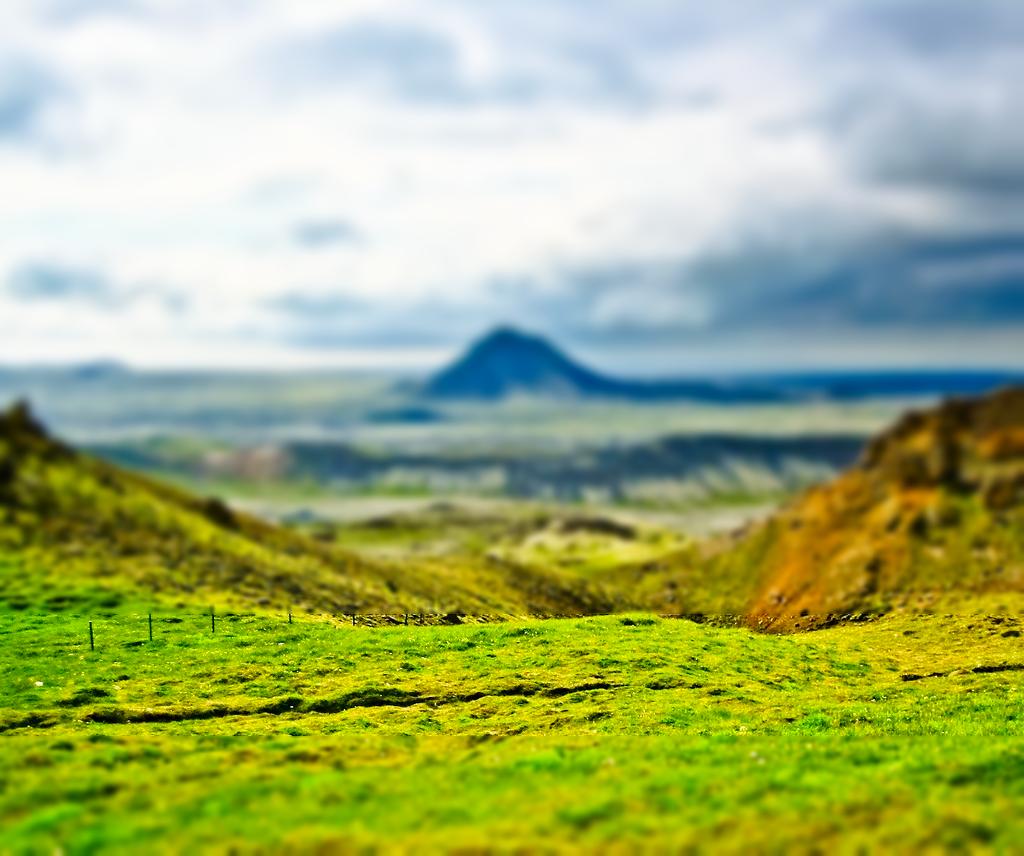
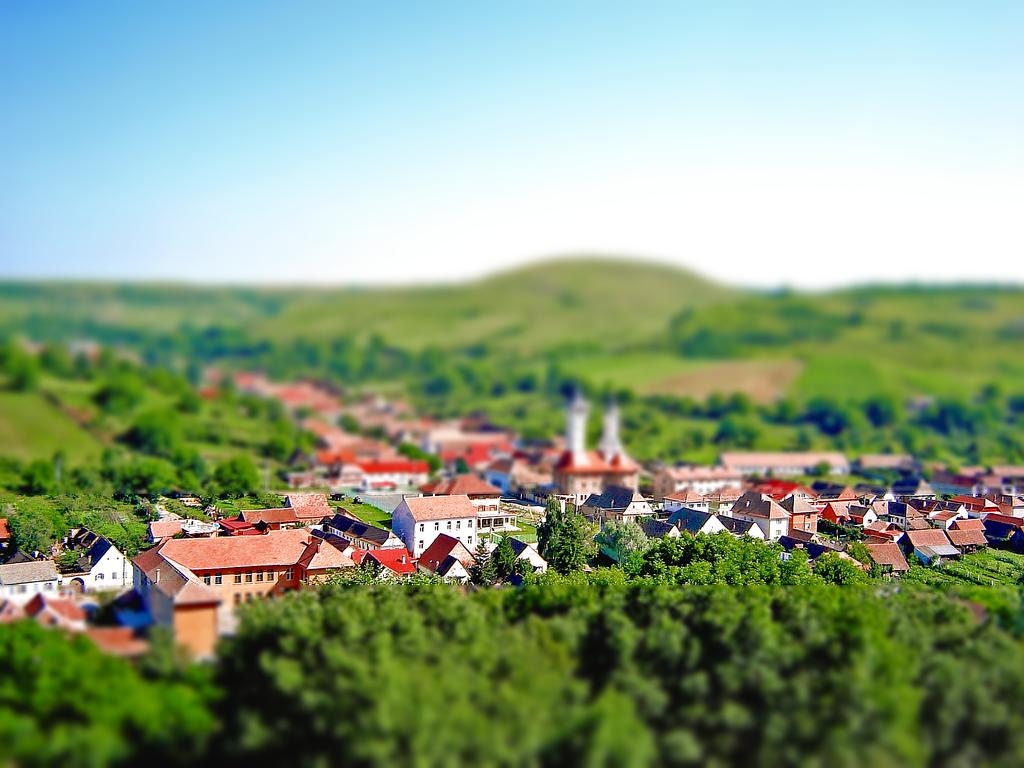
The above are all success cases. Note a similar structure for the best results: standard photo construction without tilt; lack of large foreground objects; scenes that we typically think can be represented in miniature form. Next we explore some failure cases.
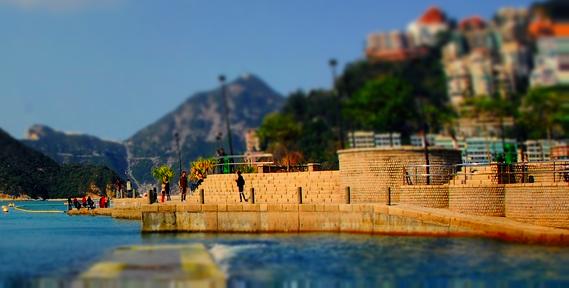
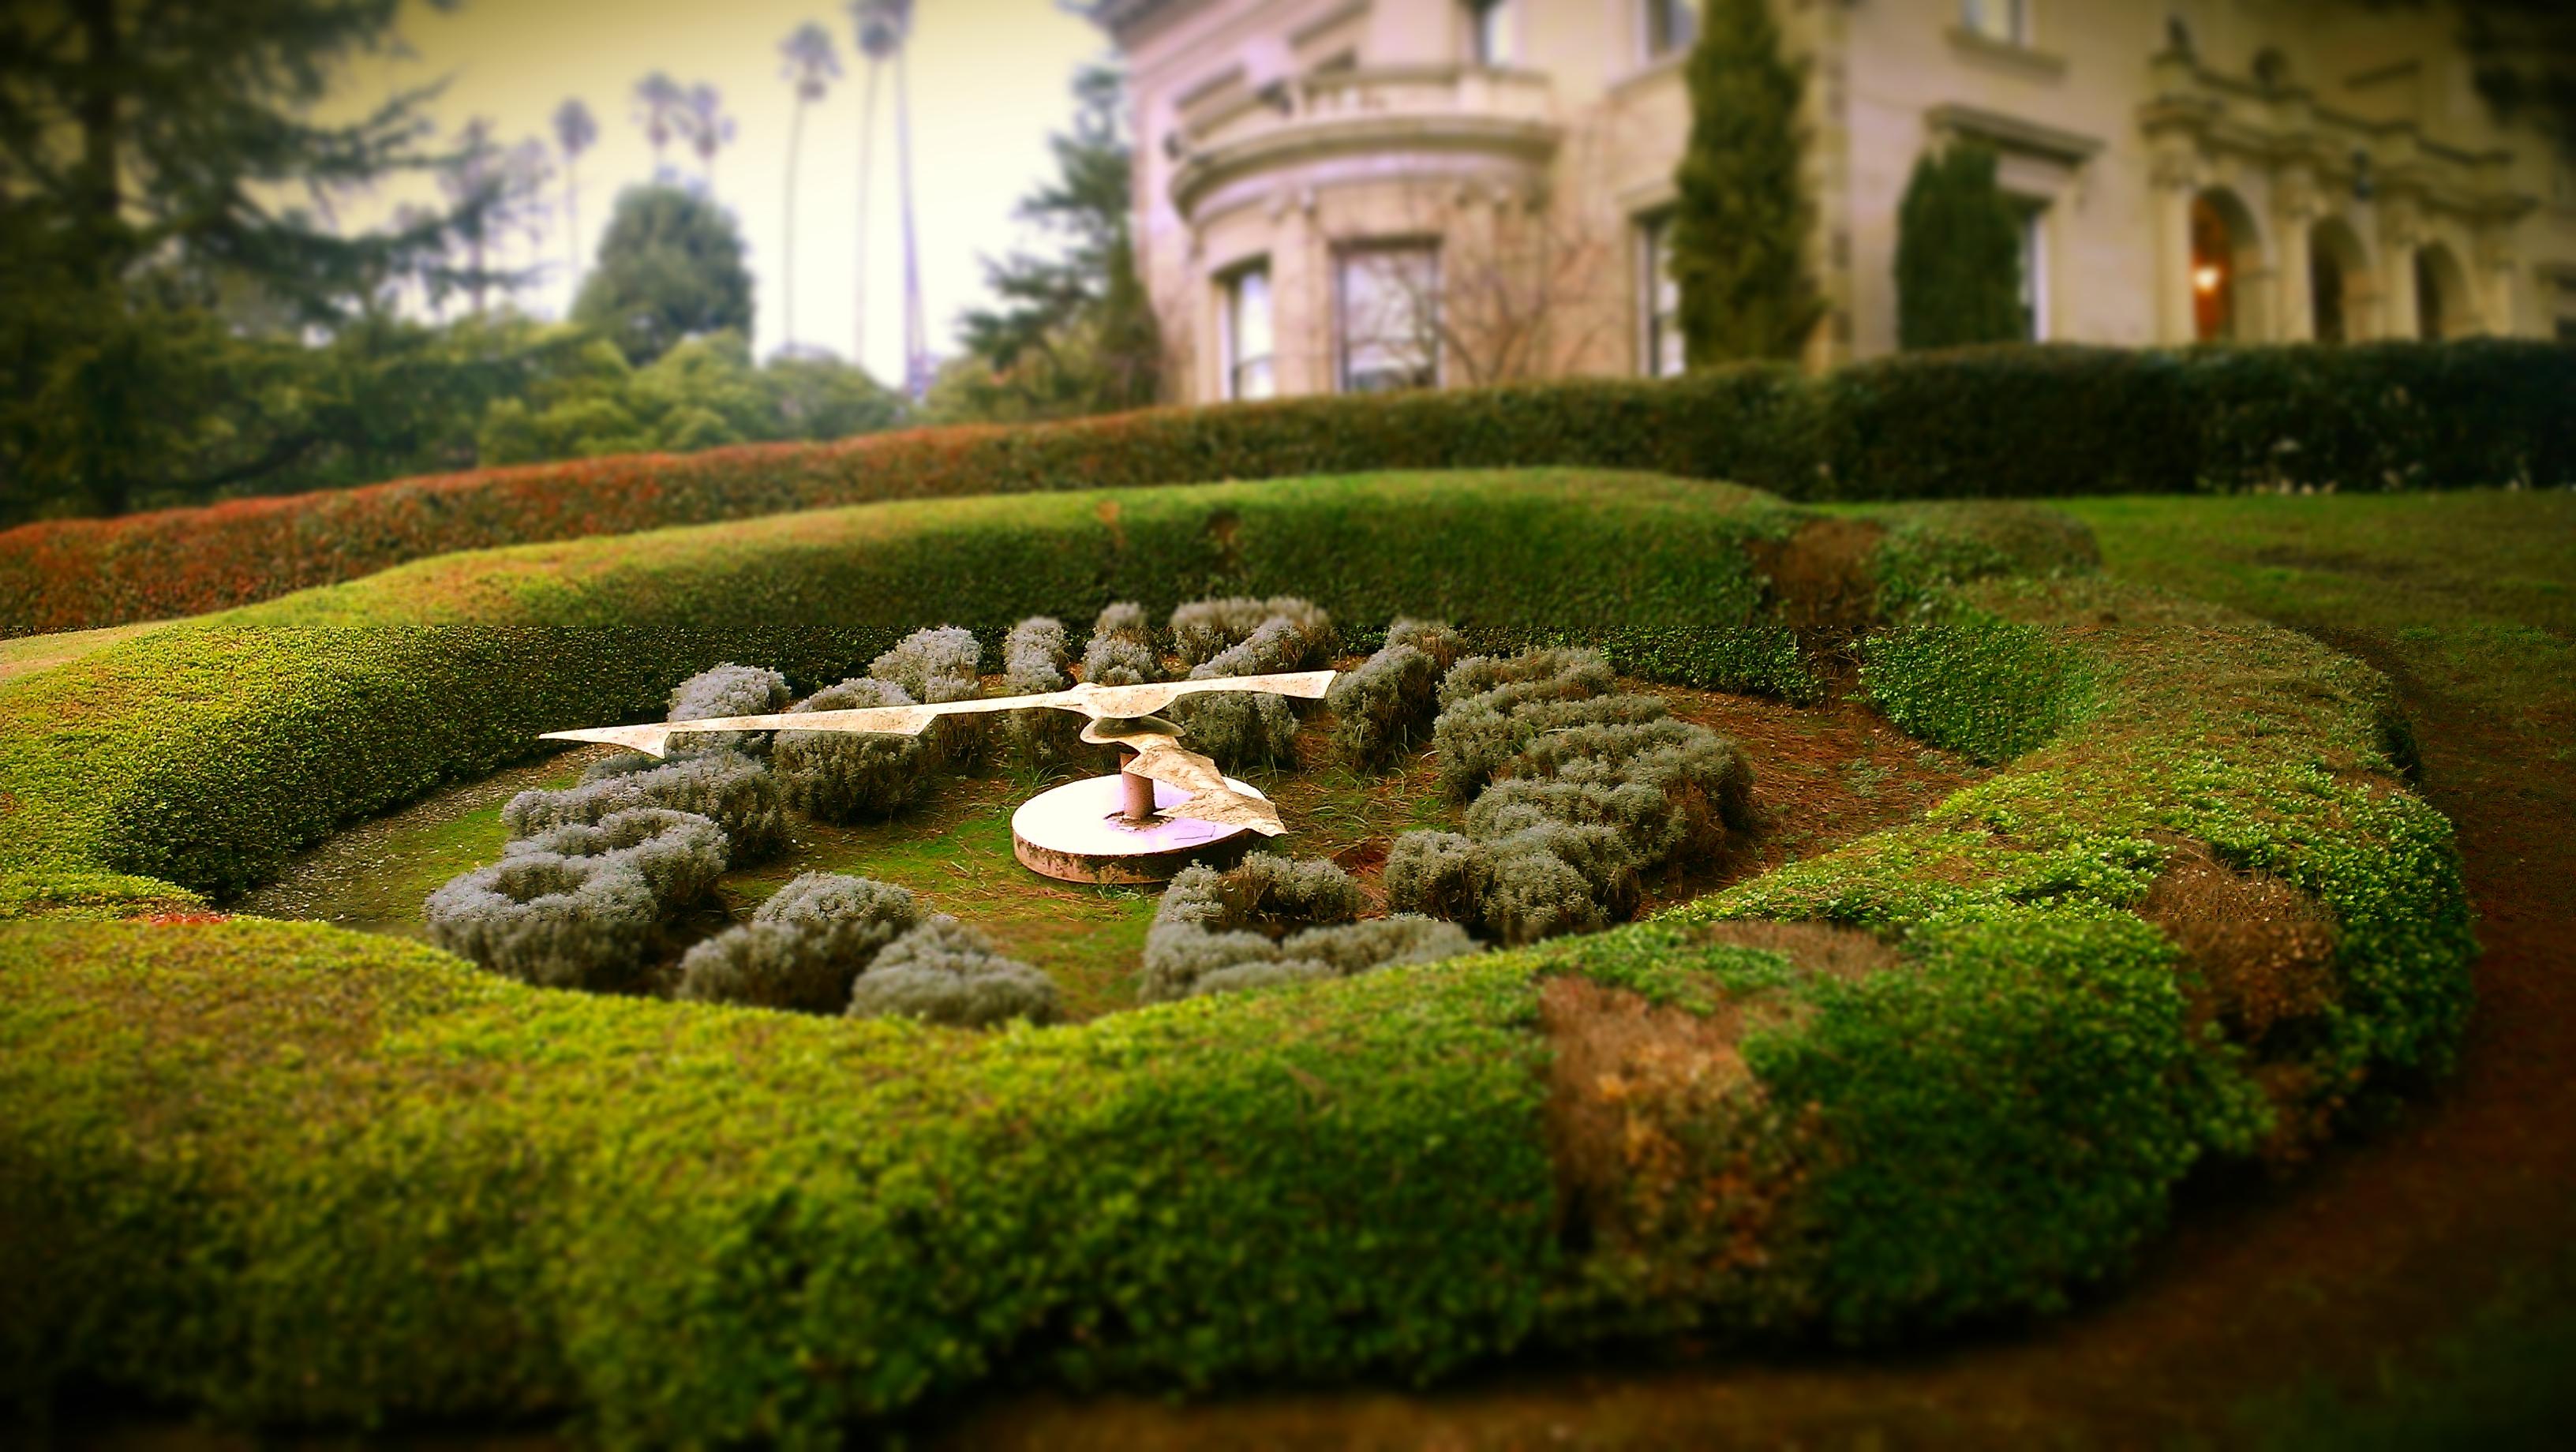
For the dock case, the photographer was too far away from the scene. In the clock case, there are insufficient objects in the scene to give the miniature effect; instead it just seems like normal depth of field. Finally, we have some pictures from Berkeley.